
Jun Nagase
-
Posts
231 -
Joined
-
Last visited
Content Type
Profiles
Forums
Events
Everything posted by Jun Nagase
-
Patient Name: Izla Sinthachai Patient Sex: Male Primary Care Physician and/or Medic: MSpc. Lisa Bennet Patient Injuries: .50 Cal shot to the abdomen and left shoulder, metal piece rammed into abdomen Patient Vitals: Moderate, declining Treatment / Care Provided: Surgery to remove fragments and metal piece, metal stint applied to left collar bone. Fragments around heart were not able to be removed. Time of Treatment: 18:00 Terra Time Current Patient Status: Admitted to Room B, with declining health due to lead poisoning from remaining fragments. Expected to survive 36-48 hours before heart will give out due to lead poisoning. Drugs Administered: Morphine, iron, calcium and zinc supplements, chelation therapy. Overview of Situation: Patient was attacked by an enemy marauder and shot point blank with two .50 Cal rounds and jabbed in the abdomen with a metal piece. Patient is extremely unlikely to survive beyond three Terran days. Living family has been notified. Additional Notes: Patient's heart is expected to succumb to chronic lead poisoning around 36-48 hours after writing this report.
-
No Graham or Sabine? Booo
-
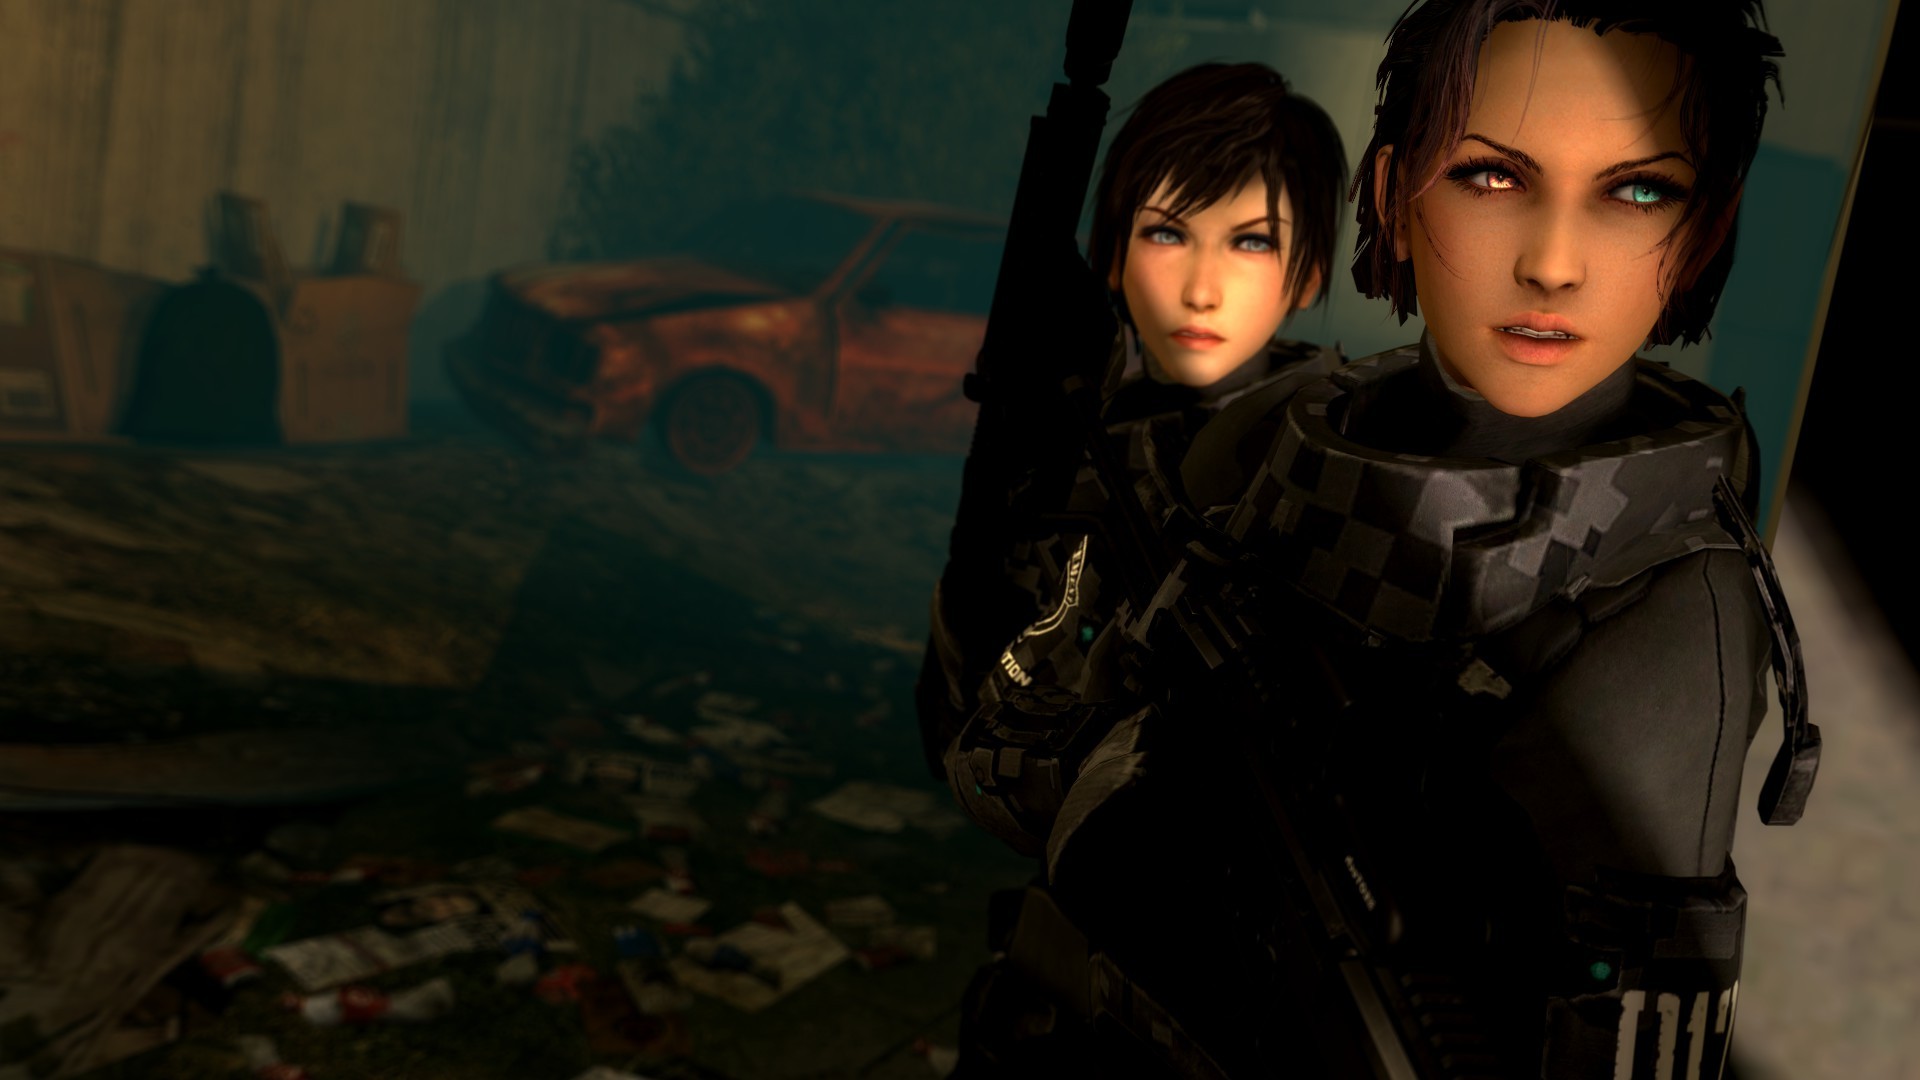
Uploading a bunch of hairs for people to use. Use Rightclick > Experimental > Model to load these in PAC. Note some have bodygroups, also they require readjusting to fit the head (they will load offset a ways). 01 - JillA - Based off Jill Valentine's hairs, has multiple bodygroups, Brunette 03 - Tina - Based off Tina Armstrong's hair, Blonde 04 - Hitomi - Based off Hitomi's hair, Brunette 05 - Jodie - Based off Jodie Foster's hair, includes 2 versions + hat versions via bodygroups, Darkbrown 06 - Diana - Based off Diana Burnwood's hairs, has multiple bodygroups, Brown? 11 - VictoriaA - Based off Victoria's hair from Hitman, has multiple bodygroups, Brunette 12 - VictoriaB - Based off Victoria's Hair from Hitman, has multiple bodygroups, Brunette 13 - Wallaby - Based off Laughing Wallaby's hair from MGSV, has multiple bodygroups, Blonde, Messy Don't forget to tick the 'Translucent' option on the hairs. Also don't forget the IC rules about hair length, keep it short and/or in a ponytail. Some of these have long hair bodygroups. Let me know if any of them have bugs Others may come with time - Jun de Pac Snac Regarding the impact of these models, the largest file is 79mb (Wallaby's hair), others usually fall between 13-40mb, however the models themselves are usually 1-2mb. Most of the file size is textures. Also afaik PAC caches files, so once you've downloaded them, unless it detects changes with the file or the cache is deleted, you wont be downloading the 13-79mb -every- time someone wears it, only the first time. I don't know where the cache is though. PAC4 itself is in general more optimized than PAC3 was, and furthermore .mdl imported models (aka experimental models, such as these hairs are) are significantly more optimized than the classic .obj imports judging from my experiments. For example, my character Elizabeth Graham's PAC, based off Christie's head, is ~0.500ms when fully loaded. If I change it to a full-body experimental .mdl import and clip it so it's just the head visible, it still drops to ~0.400ms loading time despite loading a whole body with advanced textures and 3 hair bodygroups. That's a -full body-, fully textured model with normal maps, specular maps and high-quality diffuse maps with a handful of bodygroups, and yet the load time is reduced by ~0.100ms. The model includes hair too. These models above are -just- hair. Not a full body, granted their textures are quite high quality hence their file size.
-
FedCom SW-420 'Triple GL' The dedicated 3GL launcher is a handheld 3-shot grenade launcher created to improve a standard trooper's ability to rain light explosives on enemies at range. It can fit all standard 40mm Grenades, minus the buckshot shells, and fires them by sending an electric charge to the front-most grenade currently loaded, allowing it to fire the 3 grenades individually. It functions as a Secondary for explosives specialists to work alongside a Morita Carbine or SMG. It also features an extendable stock with a soft buttpad to soften the felt recoil. How to Use To use the 3GL, simply flick off the safety and check the small light on the top of the weapon, on the small cutout between the stock and the weapon itself. If the light is on, it is charged and ready to fire. If it is off, take hand of the charging handle on the left-hand side of the weapon and pull back fully. This will charge the small battery in the weapon and allow it to send an electric current to the 40mm Grenade, readying it to fire. The 3GL performs identically to any standard 40mm Grenade Launcher, such as the UGL found on the Morita Mark 1, in terms of grenade characteristics. Reloading consists of unlocking the tube and rotating it so that the back of the tube is accessible and sliding up to three 40mm Grenades into the tube, then closing it, Adoption The 3GL was initially developed by FedCom to be a replacement for the standard Morita UGL, however it proved to be too bulky and difficult to effectively integrate into the rifle and was subsequently redesigned as a stand-alone compact multiple-grenade launcher for use as a secondary to increase the explosive capability of a squad. It was designed to be able to swiftly fire three standard 40mm Grenades to saturate an area and break up and stun groups of arachnids to increase the survival chances in unfavorable scenarios. It was decided that the weapon should be completely battery-less in the sense that batteries would never be a necessary carry equipment for the trooper, instead a charging handle on the left-hand side of the weapon was connected to a small electricity generator and a very small battery, capable of holding enough charge to discharge a single 40mm Grenade. After each shot, it is required to charge the charging handle, however it was placed so that the user could quickly charge the handle after each shot to maximize the firerate. After initial testing as a stand-alone dedicated 3GL secondary, the Mobile Infantry looked favorably upon it and took it into official adoption. However, the effectiveness against groups of arachnids in the field was found to be less than satisfactory by front-line troopers and it fell out of favor. Popularity has since increased in its use against less well-armored targets, such as humanoid targets or weaker arachnid castes, or for use against single arachnids such as Tankers or smaller Royals. Specifications Action: Electric-pulse operated. Weight: 3.27 Kilograms (7.2 lb) unloaded. Length: 485mm - 590mm (19.09 Inches - 23.22 Inches) Barrel Length: 420mm (16.53 Inches) Cartridge: 40mm Grenade Feed System: 3 Round electrically fired tube. Accuracy: 25m spread at 400m Muzzle Velocity: Grenade Type Dependant Effective Range: 400m - 850m
-
The 40mm Launched Grenade The 40mm GL-Launched Grenade has long been an important support tool for the standard infantryman, allowing even standard infantry to accurately saturate an area with explosives well beyond the thrown grenade's range, and accurately place explosives through doorways and windows from a safe distance without the need for heavy special equipment. All 40mm Grenades with explosive potential has an arming range set so the round will not detonate if it's within the danger zone of the operator. Variants 'Mercury' Extended Range HEDP Round The 'Mercury' 40mm Round is the modern choice of high-explosive fragmentation anti-personnel grenades. Compared to the older M433 Round, the Mercury round boasts better range and marginally increased explosive capability, as well as a more preferable fragmentation pattern. Range: 600m Penetration: 65mm Hardened Steel 'Hellhound' 40mm HEDP Round The 'Hellhound' 40mm Round is the modern choice of urban-warfare breaching rounds. Specially designed to be able to penetrate doors and thin walls, the Hellhound round is the round of choice for infantry placed in urban environments while retaining the range of the 'Mercury' round with only marginally decreased explosive and fragmentation capability. It is possible to enable a fusing mechanism on the Hellhound round so it will detonate 1-1.5m after penetrating a wall. It also features a system to detect if it has penetrated a surface, so it wont detonate in the users face if it fails to penetrate. Range: 600m Penetration: 90mm Hardened Steel M430A1 High-Velocity HEDP Round The M430A1 High-Velocity HEDP Round is the round of choice for armored targets. Designed specifically to penetrate thin armor, the M430A1 is commonly used to disable armored vehicles such as APCs, MRAPs, trucks and other light vehicles. Boasting an increased velocity at the expense of increased recoil, the M430A1 is the round of choice for longer engagements as well as for use as breaching rounds through thicker walls and doors, at the expense of a significantly reduced explosive and fragmentation capability compared to the Hellhound round. Should the grenade itself fail to penetrate, the HEAT-like aspect of the penetration will likely still cause minor damage. Range: 850m Penetration: 100mm(Grenade) 125-135mm(Superheated Jet) Hardened Steel M433 HEDP Round The M433 is an older, cheaper HEDP round. It boasts shorter range and a lesser explosive and fragmentation capability compared to the modern Mercury and Hellhound rounds. It is often found in the hands of Separatists and other self-defense forces that can't afford fully modern equipment. They are frequently also used by the Mobile Infantry in live-fire training sessions to spare on the modern rounds. Range: 400-450m Penetration: 50mm Hardened Steel M918 Practice Round The M918 Practice Round is, as named, a practice round designed to mimic the characteristics of the modern Hellhound and Mercury rounds. Upon impact, the round will emit a visible flash and puff a small amount of blue paint around the impact site, allowing for accuracy training. M918A1 and A2 variants exists that mimic the breaching capabilities of the Hellhound and M430A1 rounds, puffing larger amounts of paint to demonstrate the fragmentation patterns. Range: 600-850m Penetration: 4mm(A0) - 65mm(A1) - 90mm(A2) Hardened Steel M295 Buckshot Round The M295 Buckshot round is a round designed for CQC operations, allowing the 40mm Grenade Launcher to effectively turn into an overpowered shotgun. The increased size of the pellets and increased charge load allows it to penetrate the chitin of warrior arachnids at relatively close range. Range: 20m Penetration: 21-34mm Hardened Steel M713-717 Smoke Shell The M713-717 rounds are standard colored smoke shells for use in marking an area or providing concealment in the form of smoke screens. It is also usable as signal shells if fired directly up into the sky, upon which the shell will begin emitting smoke prior to reaching it's peak and thusly providing a visible tower of smoke in the sky up to 300m. It will then fall to the ground and mark the ground as normal. M713 = Red Smoke M714 = White Smoke M715 = Green Smoke M716 = Yellow Smoke M717 = Blue Smoke Range: 400m Penetration: 4mm Hardened Steel M583A1 Illumination Shell The M583A1 is a parachuted illumination shell used to light up a significant area at night, or alternatively for use in ground marking, providing a minimum of 70,000 candle power. It comes in white, red, green, blue and yellow coloring. It is known to also be used in flare tripwire traps to illuminate the target that trips the wire, commonly split up into color-coded areas so the defending side knows the general area of the flare based on the color of the flare. Range: 400m Penetration: 2mm Hardened Steel 'ORACLE' IR Shell The 'ORACLE' parachuted IR Illumination shell is a rarer shell to see being used, generally used during campaigns or during night-operations. The 'ORACLE' IR shell provides 26 watts/steridan minimum with less than 300 candle power of visible light. This provides with Infra-Red illumination, allowing the user to illuminate an area in night-vision without immediately alerting an unsuspecting force, and denying any force lacking night-vision the illumination. It can also be used to discretely mark areas or as a more discrete signalling flare. Range: 450m Penetration: 2mm Hardened Steel (RP Section) If you are using a specific round such as breaching or illumination etc., /report which round you are using and await admin response. Breaching rounds that penetrate will detonate as a standard 40mm grenade on the other side, ones that fail to penetrate will simply 'thud' into the surface and harmlessly drop to the ground. The M430A1 can penetrate some parts of marauder armor, however it's most likely that only the superheated jet will penetrate rather than the entire grenade itself, thus only relatively minor damage may occur to the user inside, depending on where it hits. If the grenade hits a weak or unarmored part of the marauder, it may penetrate and detonate, removing a limb if it's a limb that's hit.
-
The Morita Mark III Squad Automatic Weapon The Morita Mk3 SAW is a Squad Automatic Weapon designed to replace the Morita Mk2 SAW, boasting similar characteristics to the Morita Mk1 while allowing for more compact ammunition and better sustained fire at a higher rate of fire. It features picatinny rails all along the side of the rifle along with an integrated bipod. The magnetic acceleration feature of the Mk3 SAW allows it to put a lot of lead downrange while maintaining a low and manageable recoil, allowing for accurate sustained full-auto fire at arachnid-sized targets at ranges where recoil would dissuade the Mk1 from full-auto. Future variants are planned with options for optics and a potential integrated suppressor or an adapter to allow for suppressors. Ammunition The Morita Mark III SAW uses a special Caseless 5x30mm Steel - Tungsten Carbide alloy core with Lead filler round, named AP-F for Armor Piercing - Fragmentation, and is fired via an electric pulse. The round is designed to have favorable penetration characteristics for a smaller round while retaining shrapnels post penetration. It is designed so the round will penetrate an arachnid's chitin, upon which the Tungsten Carbide core will likely break apart along the middle, shattering the lead casing around the core and causing shrapnel to disperse inside the target. This will also occur when penetrating armor and if striking bone thicker than 6mm. If striking flesh deeper than 7cm, testing has shown that some lead may fragment, though less so than if the core breaks. With the added velocity of the Mk3 SAW's magnetic accelerator rails, the 5x30mm AP-F round has damage characteristics similar to that of the common .308 NATO used in the Morita Mark 1 when used within it's effective range. Its caseless nature allows the Mk3 SAW to fit up to 200 rounds of 5x30mm AP-F ammunition, divided up into 25 tubes of 8 rounds each inside the cylindrical magazine which is loaded into the SAW's chamber via a high-speed injection rod which pushes the prepared round into the chamber upon firing, operated by the rotation of the magazine as the weapon fires. Action The Morita Mark 3 SAW uses a rotating-bolt electronic pulse system that ignites a relatively small amount of gunpowder stored at the base of the 5x30mm caseless ammunition, which is then further accelerated by the magnetic accelerator rails stored along the barrel of the weapon. Magazine The magazine, powered by the battery stored in the Mk3 SAW, will begin rotating upon firing which will feed the rounds into the chamber located at the front end of the magazine itself, centerline with the barrel. The center core of the magazine in where the round is fired from does not rotate with the rest of the magazine. So far, no instances of failures to feed have been recorded, however it is theoretically possible that a worn action could cause the round to get caught between the rotating magazine and the chamber, jamming the magazine in place and potentially damaging it beyond further field-use. If this failure is suspected, it would be evident from a simple inspection of the magazine, looking down the front of it into the chamber. How to use Safety The primary safety of the Morita Mk3 SAW is the on/off switch of the battery, located on the right-hand side of the stock, represented by a small flick switch. Flicking this switch to 'on' will enable the battery to feed electricity into the magnetic rails and the magazine, effectively making the weapon live. A further safety exists in the shape of a small push button on the left-hand side of the stock which functions as the chambering button. In order for a round to be chambered and the weapon be ready for use, pressing this button is necessary. However, once fired, the weapon will automatically chamber a new round if a new magazine is inserted. It will continue to do this until the power button is switched to 'off', in which case it will reset. A secondary safety exists in the form of a traditional flick-on selector safety that prevents the trigger from being pulled, intended as a more temporary safety for when the rifle needs to be safe, but still quick to switch into live mode. Firemode Switching firemodes is fairly straight forward. On the front of the trigger guard exists a pair of buttons, these function as the fire selector switches. A simple flick with an index finger can quickly change the firemode, or switch on the secondary safety as labeled on the switches. Reloading Reloading the Mk3 SAW is fairly simple. Under the trigger exists a small button; holding in this button will allow the operator to pull back on the cylinder magazine about 1cm which will unlock it and allow the magazine to be removed out either side of the weapon. Then, a fresh magazine can be reinserted through either side and can be confirmed to be in place when it 'clicks' into position. A skilled operator can pull back and push out the magazine in one motion, allowing for swift reloads. Barrel changes are not necessary on the Mk3 SAW as it features a heavy barrel for a relatively small round and a small amount of heat being exerted when fired. Should a barrel need changing, it is done purely by armourers and cannot be done in the field. Adoption The Morita Mark III SAW was designed to improve on the SAW concept, specifically to replace the Morita Mark II SAW and improve performance on all fronts. In order to do this, the Morita company looked to newer technologies, specifically magnetically accelerated ammunition. After some testing, they settled on a 5x30mm caseless round with a Steel - Tungsten Carbide alloy core with a lead casing meant to shrapnel post-penetration. Testing revealed that this round had performance that, under most circumstances, resulted in damage similar to that of the common .308 NATO round used by the Morita Mark 1 variants with exponentially reduced effectiveness at ranges beyond 800m. The magazine design was initially going to be similar to that of the Mk2 SAW, with a box magazine with belts inside. However, they wanted a system that allowed them to save space and did not require any type of belts to feed. After several iterations, they finally settled on an electric cylindrical magazine with a series of 25 tubes, each of which stores 8 rounds which feed down into the center of the magazine where the firing chamber itself resides. Powered by the same battery that powers the magnetic accelerator rails in the fore of the weapon, the magazine's rotation feeds the rounds into the chamber and electronically ignite the small charge in the caseless round, propelling it into the barrel where the magnetic accelerator rails will further accelerate the round to achieve the final muzzle velocity of between 980m/s - 1040m/s. Initially, the Morita company attempted to make a shortened version of the Mk3 SAW without suffering too severe performance drops, however no variant so far has proven worth consideration. The Morita Mark III SAW was initially adopted by Alpha Company of the 112th Mobile Infantry Battalion, then later by other companies and battalions. Specifications Action: Electric-pulse operated, rotating bolt. Weight: 10.63 Kilograms (23.43 Pounds) fully loaded. Length: 1130mm (44.48 Inches) Barrel Length: 762mm (30.0 Inches) Cartridge: 30grain 5x30mm Caseless AP-F primary, mag. accelerated. Feed System: 200 round standard cylinder magazine primary. Accuracy: 1 MOA @ 500m. Muzzle Velocity: 1020 m/s, quickly drops with range. Effective Range: ~800 meters.
-
elizabeth grehum mebbeh?
-
should add graham after that talk at the FOButt
-
Patient Name: Troy Hughes Patient Sex: Male Primary Care Physician and/or Medic: MSpc. Lisa Bennet on field, MSpc. Lisa Bennet and TSgt. Charles Scott in surgery Patient Injuries: Punctured right lung through and through, bullet through right shoulder knicking collar bone and cutting artery Patient Vitals: Moderate Treatment / Care Provided: On field clamp of the artery, chest seals applied with one-way chest valve, chest decomp applied, HEXTEND and ketamine administered. On ship, surgery to fix lung and artery. Time of Treatment: ~2 minutes after injury. Current Patient Status: Stable, in recovery Drugs Administered: Ketamine Overview of Situation: Recovery time expected: 1 week (2 days OOC) Additional Notes:
-
Maybe mixed sep/prog questline where we have to prevent seperatists from capturing progenitor tech while getting it for ourselves?
-
Thermite Charge and You Thermite charges are frequently used in the field, mainly either to open otherwise blocked paths, mainly doors, or to severely damage assets in the field. Thermite also doesn't ignite very easily, requiring an incredibly hot source to actually ignite, making it reasonably safe to use in the field. Thermite charges burn up towards 2200 degrees Celcius (4000 degree's Fahrenheit), capable of burning through most obstacles found in the field. In order to safely use thermite charges in the field, please follow the following procedure. Locate a place to place the thermite charge safely, keep in mind that thermite burns incredibly hot and will burn through whichever surface it is placed on. Also ensure the thermite will not burn any support structure that could cause harm to the rest of the Troopers Ensure the thermite is safely placed, then synchronize the charge with a detonator if remotely detonating, or set the timer. Then inform infantry of its location and to avert eyes from the charge. Beware that the range for the thermite charges are the same as with plastic explosive charges, and it will ignite the thermite if the detonator is moved outside 1km range or if the charge otherwise loses connection with the detonator Call out that you are igniting the charge and emphasize not to look directly at the thermite charge as it burns, as thermite burns incredibly brightly. Then, ignite the charge Once the thermite has burnt out, beware of residual heat. Once thermite has burnt through completely and is no longer 'fizzling', it is safe to be around, however beware that whichever surface it was placed on is likely still very hot
-
Repair, recovery and you As often happens in the battlefield, equipment gets damaged or worn down and require repairs, either in the field or brought back to a base for more extensive repairs. If possible and safe, repairs should be conducted to get the equipment in functioning order. However, should this not be an option, recovery is the next step on the list. To recover an asset, inform MOBCOMM or any relevant base that an asset has been damaged beyond field use and cannot be repaired, and that said asset requires recovery. In standard cases, this means MOBCOMM will send a Skyhook down to retrieve the asset. Mark the asset via IR emitters or alternatively coloured smoke grenades and await confirmation from MOBCOMM that asset retrieval is under way. Alternatively, heavy vehicles could be used to either carry or tow the damaged asset to a facility capable of repairing or, if beyond repair, scrapping the asset into useful parts.
-
Should add sabutt
-
Emergency Protocol and You As happens, vehicles get damaged and immobilized. However, it isn't always possible repair or recover them in a timely fashion. Instead, Emergency Protocol must be followed in order to deny the enemy this asset. Simply leaving behind an immobilized tank will almost certainly result in the enemy recovering and repairing it, giving them one more tank for you to worry about. Instead of this scenario, destruction of assets you cannot guarentee can be recovered is preferable. In order to safely destroy an asset you cannot repair or recover in a timely manner, please follow the following steps. Ensure asset cannot be reasonably recovered or repaired in a timely manner Ensure all salvagable parts from the asset has been salvaged, such as certain ammunition types, removable tech, tools and general hand-held supplies. Removal of tank shells or similar may be ill advised as they assist in proper destruction of the asset Place standard plasic explosives in key places that will ensure the asset is as damaged as possible. This includes but is not limited to; high value tech, barrels and weapon systems, engines, ammunition storages, weakspots on the frame of the asset that could cause the asset's frame to break, and any place that could reasonably cause significant degredation of the asset's usefulness to the enemy. If necessary, high-temperature can also be used to detonate ammunition storages, such as an incendiary grenades or thermite placed in a tank's ammunition storage Ensure all friendly units have vacated the danger area of the explosives. Remember that any ammunition still present on or in the asset will aid to the overall size of the explosion Once safe, detonate explosives and if possible, check the level of destruction from a safe distance in case of secondary explosions
-
oherro graymers
-
Bennut?
-
Plastic Explosives and You The standard Engineer-carried plastic explosive is the M-905S Shaped Charge, accompanied by a detonator. The M-905S is synchronized to it's detonator via a small knob on both the M-905S and the Detonator and utilizes a constant signal to control detonation. Once synchronized to a detonator and primed, the M-905S Shaped Charge recieves a constant signal from its synchronized detonator. Should this signal be broken, the M-905S will detonate. The signal can be broken in various ways, including but not limited to: Clacking the detonator which breaks the signal, significant damage to detonator or charge, exceeding 1 mile / 1.6 kilometers between detonator and synced M-905S or, if signal between detonator an synced M-905S is scrambled or otherwise broken. The M-905S can also be set on a timer should the user wish to use that instead. Safety Measures In order to safely use the M-905S Shaped Charge, some safety measures must be followed to ensure the safety of yourself and Troopers around you. These are as follows. Ensure your M-905S Shaped Charge is not primed before it is required to function Ensure all relevant friendly infantry is aware of where the M-905S Shaped Charge is placed Ensure all friendly infantry has cleared the blast zone Call out "Fire in the hole" twice on the radio if possible. Use descretion as necessary, whisper if needed, call out time to detonation if set to a timer Do not exceed 1 Mile/1.6 Kilometer range between detonator and synced M-905S Shaped Charge if set to remote detonation, as this will exceed the maximum signal range causing the M-905S Shaped Charge to detonate Once you are certain all friendly forces have left the blast zone and "Fire in the hole" has been called at least twice, you may detonate your charge. Operation of the M-905S Shaped Charge To prevent early detonations or lack of detonation all-together, please follow the following procedure for using the M-905S Shaped Charge. Locate area for the M-905S Shaped Charge to be planted in, ensure it will not cause secondary damages such as tunnel collapse ontop of friendlies Sync radio frequency of the M-905S Shaped Charge and included detonator if set to remote detonation OR Set timer on the M-905S Shaped Charge if a timer is desired Prime M-905S Shaped Charge, proceed to place charge into place or if necessary, toss charge into place Once safe, proceed to unsafe the detonator and detonate charge if set to remote detonation
-
should add sabine and/or graham
-
Should add Sabine
-
updated Chevosky
-
added Holiday @Coleision Ji Park @Fitz
-
added Scott @hewhogrillsbears
-
Updated Harper @Mannulus
-
Added Travis Young @Medic St.Claire @Silent Chevosky @StevieJr Added links to peoples bios on their respective names as well
-
If you want something implemented you should be ready to make your case and convince the people that need convincing, not just go "well people won't care". Post the workshop link to the CW2 one and I'll give it a try and have a look at the code to see how it might be balanced.